Trenchless Installation Guide: Methods and Sewer Repair Steps
A guide to trenchless technology: compare installation methods, plan sewer repairs in seven stages, and understand CIPP packers, sleeves and final checks.
By Reliance Trenchless Technology14 min read
Continue with AI
Bring this article into your own conversation.
Preferred Sources
Keep up with Reliance Trenchless on Google.
Availability depends on your account and region.
A CCTV survey finds a cracked sewer joint. Should the crew install a short resin patch, expand a mechanical sleeve, line the whole run, or replace the pipe? The useful answer starts with the condition of the pipe and the purpose of the work—not the equipment already sitting on the truck.
This trenchless installation guide connects those decisions to the job: survey, method selection, preparation, installation and final inspection. It focuses on existing sewer rehabilitation and the role of Reliance repair packers, while explaining where new pipe installation, pipe bursting, CIPP and mechanical sleeves belong. NASSCO's assessment guidance identifies pipe condition, dimensions and defect information as the starting point for rehabilitation decisions.
A Guide to Trenchless Technology: Choose the Right Route
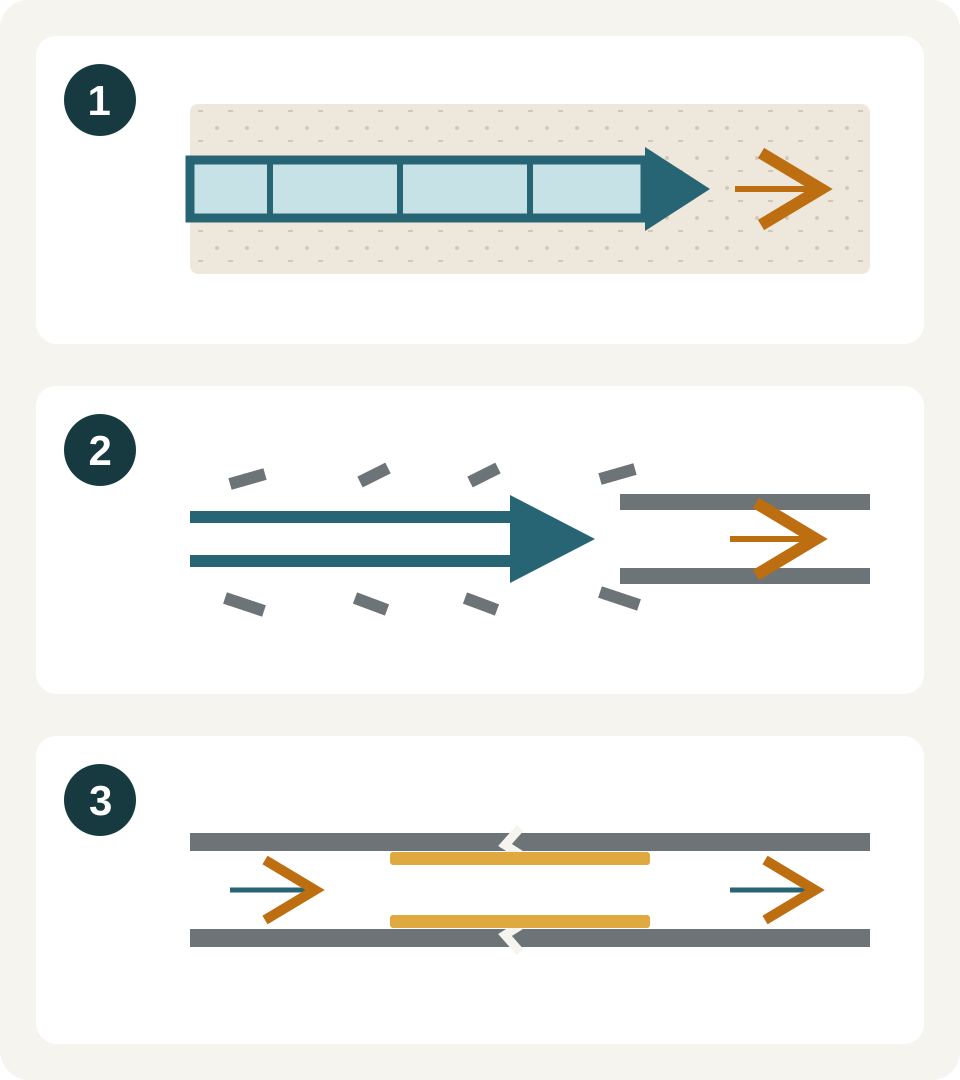
“Trenchless” describes a family of methods for installing, replacing or rehabilitating underground infrastructure while limiting surface excavation. It does not mean that every project needs no excavation. The first decision is whether you need a new route, a replacement pipe or a repair inside the existing pipe. HSE's HSG47, paragraphs 167–168, covers trenchless methods for laying and renovating services and the need to locate existing utilities before work.
| Project need | Methods to investigate | The question that matters first |
|---|---|---|
| Install a new underground service | Horizontal directional drilling (HDD), pipe jacking or microtunnelling | What alignment, ground conditions, utility clearances and access arrangements are required? |
| Replace an existing pipe | Pipe bursting or another engineered replacement method | Is the existing route suitable, and how will nearby utilities and service connections be protected? |
| Rehabilitate an extended length | Full-length CIPP or another designed lining system | What structural condition, hydraulic capacity and connections must the design address? |
| Repair an isolated defect | Sectional resin-and-fiberglass repair or a mechanical sleeve | Can the proposed repair cover the defect and achieve the required fit and performance? |
| Seal a particular joint or liner end | A purpose-designed internal joint or end seal | What joint geometry, sealing surface and movement must the selected system accommodate? |
For trenchless installation of new pipes, the work begins with route and ground investigation, utility location, access and an engineered construction plan. Pipe jacking pushes purpose-designed pipes behind a shield from a thrust pit toward a reception pit; excavation, jacking and alignment control form part of that system. The Pipe Jacking Association's introduction explains these elements. A sewer repair packer has a different job: it works inside a pipe that already exists.
For existing sewers, start with the extent of the damage. One local defect and a deteriorated run create different repair questions. Use the sectional point repair versus full-length CIPP guide to explore that decision. A patch is not automatically a solution for collapse, loss of line or inadequate hydraulic capacity; those findings require a design decision before selecting equipment.
Before Installation: Build a Useful CCTV and Measurement Record
A camera image that says “crack here” is not enough to order a repair. NASSCO describes CCTV as a way to identify structural conditions, material, service laterals, infiltration and obstructions. It also describes laser and sonar inspection for dimensional information such as diameter, ovality and offsets.
Capture the following in the project brief:
Location: pipe section, access points, direction of survey and distance to the defect.
Pipe geometry: material, measured internal diameter, shape, bends, ovality and displaced joints. State how the measurements were obtained.
Defect extent: type, length, circumferential position and the condition of the surrounding pipe.
Connections: laterals, junctions and other openings near the proposed repair.
Access: opening dimensions and the complete route the loaded installation tool must travel.
Operating conditions: flow, infiltration, temperature, conveyed liquid and whether isolation or bypass is feasible.
Use the CCTV information checklist to assemble the record. Nominal pipe size is a starting label; it does not describe every clearance or sealing surface. A tool must reach the repair location as well as fit there.
Trenchless Sewer Repair Step by Step: Seven Planning Stages
These stages explain the work and its decision points. The approved repair design and the instructions for the exact equipment and material system determine the operating settings, installation details and acceptance criteria.
1. Survey the pipe and define the repair objective
Establish whether the work targets leakage, a localized defect, a longer deteriorated section or replacement. Record nearby defects and service connections so that the selected repair addresses the actual condition. The NASSCO assessment process connects condition information with maintenance and rehabilitation decisions.
Decision before proceeding: the crew and designer agree on what the repair must achieve and which section it covers.
2. Select the method and confirm the complete system
Select the repair material, installation tool, dimensions and access arrangement together. For a resin patch, this means a compatible reinforcement/resin system and repair packer. For an Instant-Lock sleeve, it means the appropriate sleeve and specified installation equipment. The Reliance sleeve brochure, page 1, explicitly pairs sleeve sizes with installation equipment.
Decision before proceeding: obtain the current model-specific documents. Some fit ranges differ between that brochure and the Instant-locks spreadsheet. Before ordering or installation, obtain current written confirmation from Reliance of the sleeve/tool combination and applicable fit range against the measured pipe geometry.
3. Prepare access, flow management and the work area
Plan how the work can be performed, how flow will be handled and how the tool will be retrieved. Include the access route, hoses, controls and any required isolation or bypass equipment. A bypass connection on a tool is one component of this plan; it does not establish the flow capacity of the whole arrangement.
Where entry into a confined space is involved, use the applicable local requirements and a competent site plan. HSE's confined-space introduction emphasizes avoiding entry where possible, assessing risks and arranging rescue rather than relying only on emergency services. Its legal context is the UK.
4. Clean, reinspect and check the equipment
Why do so many trenchless installations fail to meet acceptance standards even when top-grade repair materials are used? Comprehensive forensic research points directly to site preparation. In Condition assessment of buried utility infrastructure: a foundation for trenchless asset management, Hao et al. (2012) (Tunnelling and Underground Space Technology) analyzed over 120 rehabilitation case studies across water and wastewater networks. Their findings revealed that more than 65% of premature failures in trenchless point repairs and liners originated from inadequate pipe cleaning or mischaracterized pre-installation geometry, rather than material failure. Residual grease, hardened scale, or undetected ovality (>5%) prevent composite patches from seating cleanly against the host pipe wall, creating micro-channels for water bypass. Hao et al. emphasized that executing high-pressure jet cleaning followed by a verified post-cleaning CCTV sweep is the single most critical quality assurance control in the trenchless workflow.
The repair plan should specify the preparation needed for the chosen system. After preparation, confirm that the defect location, surrounding surfaces and access path still match the design assumptions. Roots, grease and debris are among the obstructions identified in NASSCO's CCTV guidance.
Inspect the installation equipment according to its instructions and the risks of the work. HSE's work-equipment guidance ties inspection scope and frequency to risk, deterioration and manufacturer recommendations. Damaged equipment or an unresolved fit problem is a reason to stop and resolve the issue before loading the repair.
5. Prepare and position the selected repair
A resin system and a mechanical sleeve now follow different paths. For resin, the preparation and positioning plan must fit the specified working time. For a sleeve, the installation tool, orientation and position must match that system's instructions. The two routes are explained below.
Decision before proceeding: verify the intended position and defect coverage using the project's inspection method. Record how nearby service openings will be protected or reinstated where the design requires it.
6. Complete the system-specific installation and retrieve the tool
In sectional CIPP, a packer supports the resin-impregnated repair while it cures. In a mechanical sleeve system, expansion compresses the rubber against the host pipe and the locking mechanism retains the expanded sleeve. NASSCO describes both technologies. Release and retrieval follow the selected system's instructions, not a universal pressure or waiting time.
7. Inspect, document and return the pipe to service
Compare the completed work with the defined repair objective. Record its location and coverage, inspect relevant connections, and complete the tests specified by the project. NASSCO identifies CCTV as an assessment tool for existing and newly installed pipelines; an image alone does not establish every structural or watertightness requirement.
Keep the installation and acceptance records together. Agree who can authorize return to service before the work starts.
Pipe Repair Packer Installation: What Happens to the Resin and Fiberglass?
A repair packer is the temporary support and placement tool. The resin-and-fiberglass repair is the material intended to remain in the pipe. NASSCO's CIPP joint/spot repair description explains wrapping the liner around an inflatable packer, positioning it at the defect and curing the repair according to the resin system.
The sequence is easier to understand when the jobs are separated:
Prepare the repair material. The approved design determines coverage, reinforcement and material requirements. Reliance's resin and glassfiber brochure, page 2, describes measuring, mixing and distributing resin through the reinforcement. Use the current formulation instructions for the actual job.
Load and position the assembly. Confirm the loaded dimensions and access path before committing to the material's working-time window. Follow the specified packer preparation, protection and positioning method.
Support the repair through the specified cure. Maintain the conditions required by the repair system. Ambient, heat and light-cured technologies have different requirements; NASSCO's overview describes these alternatives. It does not make every resin suitable for every cure method.
Release, retrieve and inspect. Once the system's release criteria are met, the installation tool is removed and the completed repair is inspected against the project requirements.
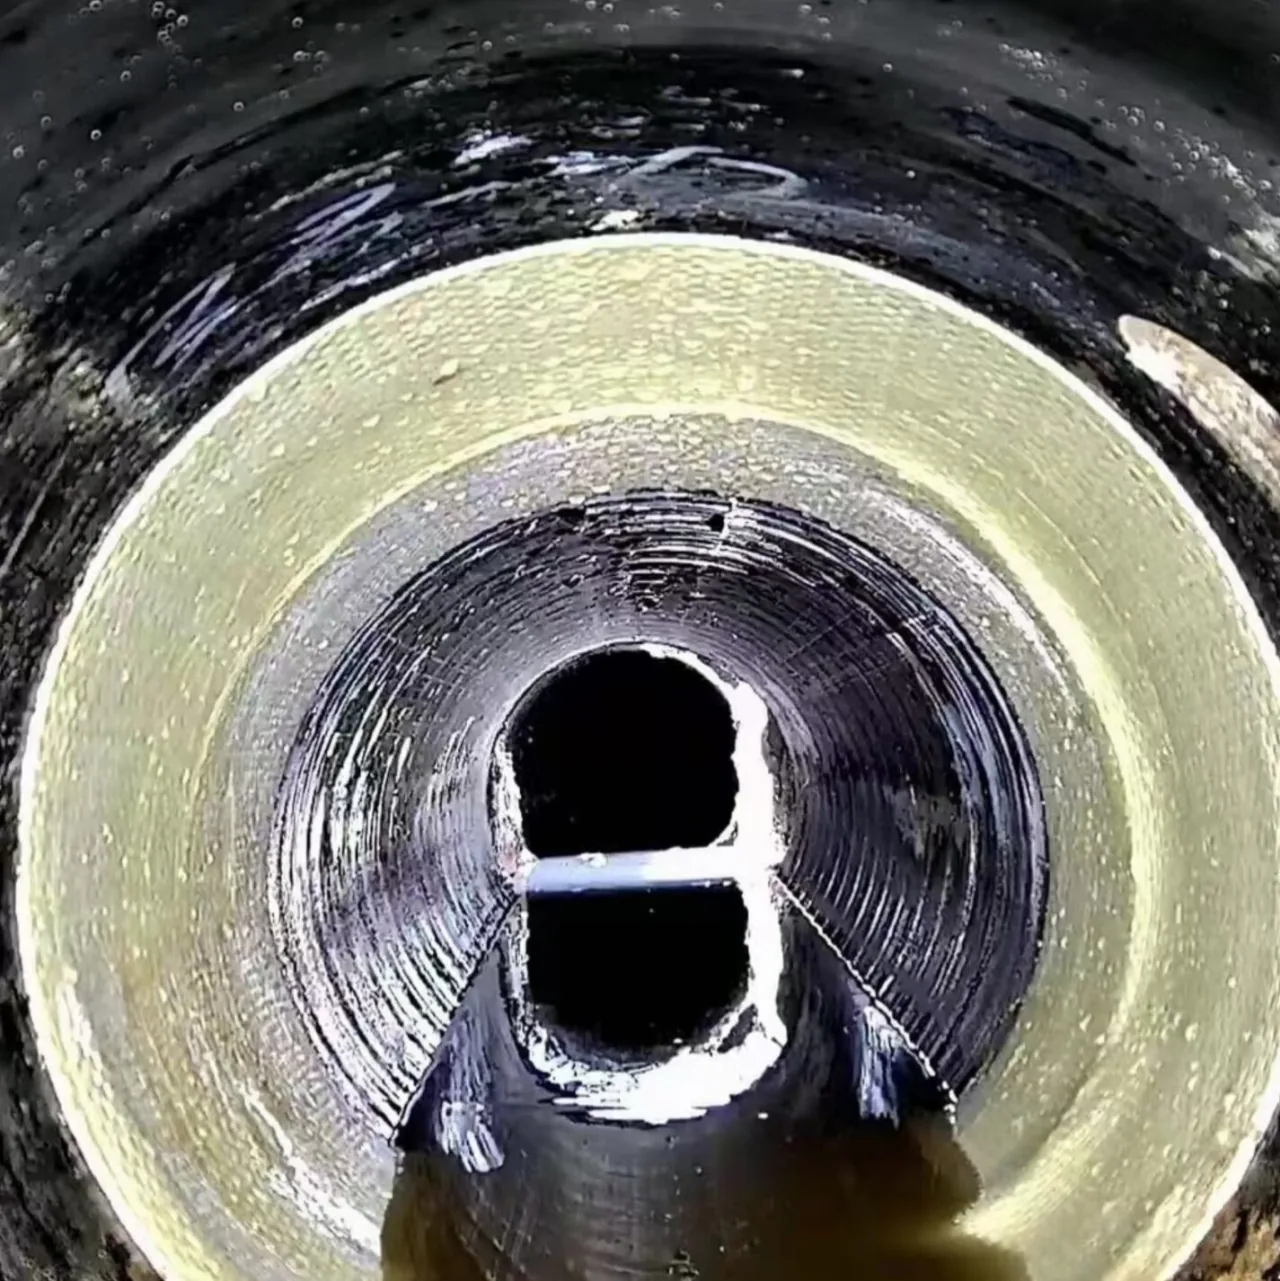
For CIPP lining installation over a whole pipe section, the scale and equipment change. NASSCO describes installation of a resin-saturated tube and curing it in place. Full-length lining also needs a plan for the connections and ends involved; a sectional repair packer is not a complete full-length lining system. See the CIPP comparison.
Pot life is not the same as permission to remove the packer. Reliance's brochure distinguishes resin formulations and gives timing at stated conditions. Confirm working time, setting, release and return-to-service requirements for the actual material and temperature. The resin timing guide explains which questions to resolve before scheduling the job.
Mechanical Pipe Repair Sleeve Installation: Expand, Lock and Seal
A mechanical sleeve offers a different way to make a local repair. In the arrangement described by NASSCO, an internal steel sleeve expands so that an outer rubber gasket compresses against the pipe wall. The repair does not depend on curing a resin patch.
For the Reliance Instant-Lock Small system, the brochure, page 2, describes loading and orienting the sleeve, expansion and checking that the locking gear is fastened. The sleeve and jacket stay in the pipe after the installation tool is removed. The published positioning, locking and inflation notes are collected in the trenchless installation guide for Instant-Lock point repair.
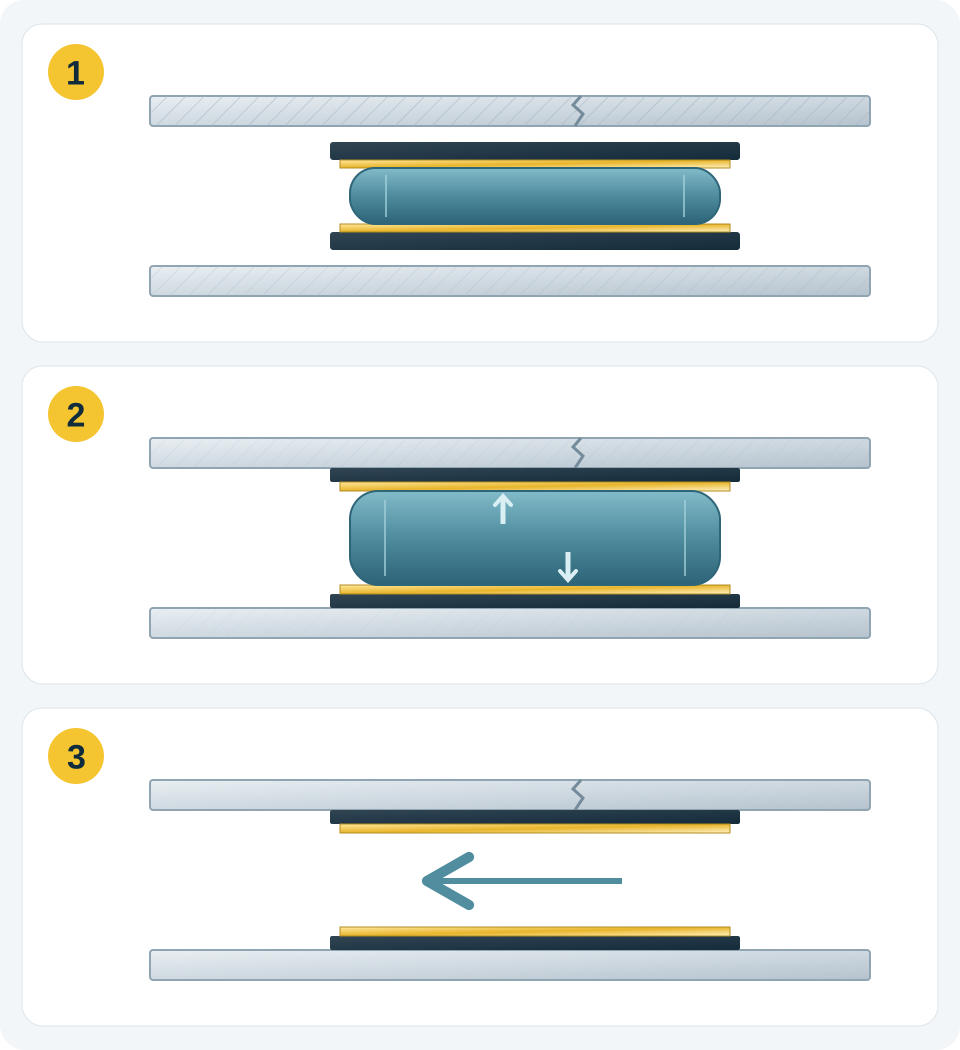
The practical distinction is what creates and retains the repair: a cured composite in the resin route, or a mechanically retained sleeve with a compressed jacket in the sleeve route. Neither explanation supplies a project-specific load rating or proves suitability for a particular defect. Read the illustrated Instant-Lock mechanism explainer and the sleeve versus resin patch comparison before choosing the system.
An internal pipe joint seal is another selection question. Reliance's internal seal brochure, page 2, shows retaining components, installation tools and an end-seal arrangement. Its dimensions and geometry must be checked for the actual joint or liner end; it is not automatically interchangeable with a repair sleeve. Use the joint-seal measurement guide.
Trenchless Installation Equipment: Match Each Item to Its Job
| Equipment or material | Its place in the plan | Confirm before ordering |
|---|---|---|
| CCTV and dimensional inspection equipment | Locate, assess and document the pipe and repair | Suitable inspection method, measurement record and visibility |
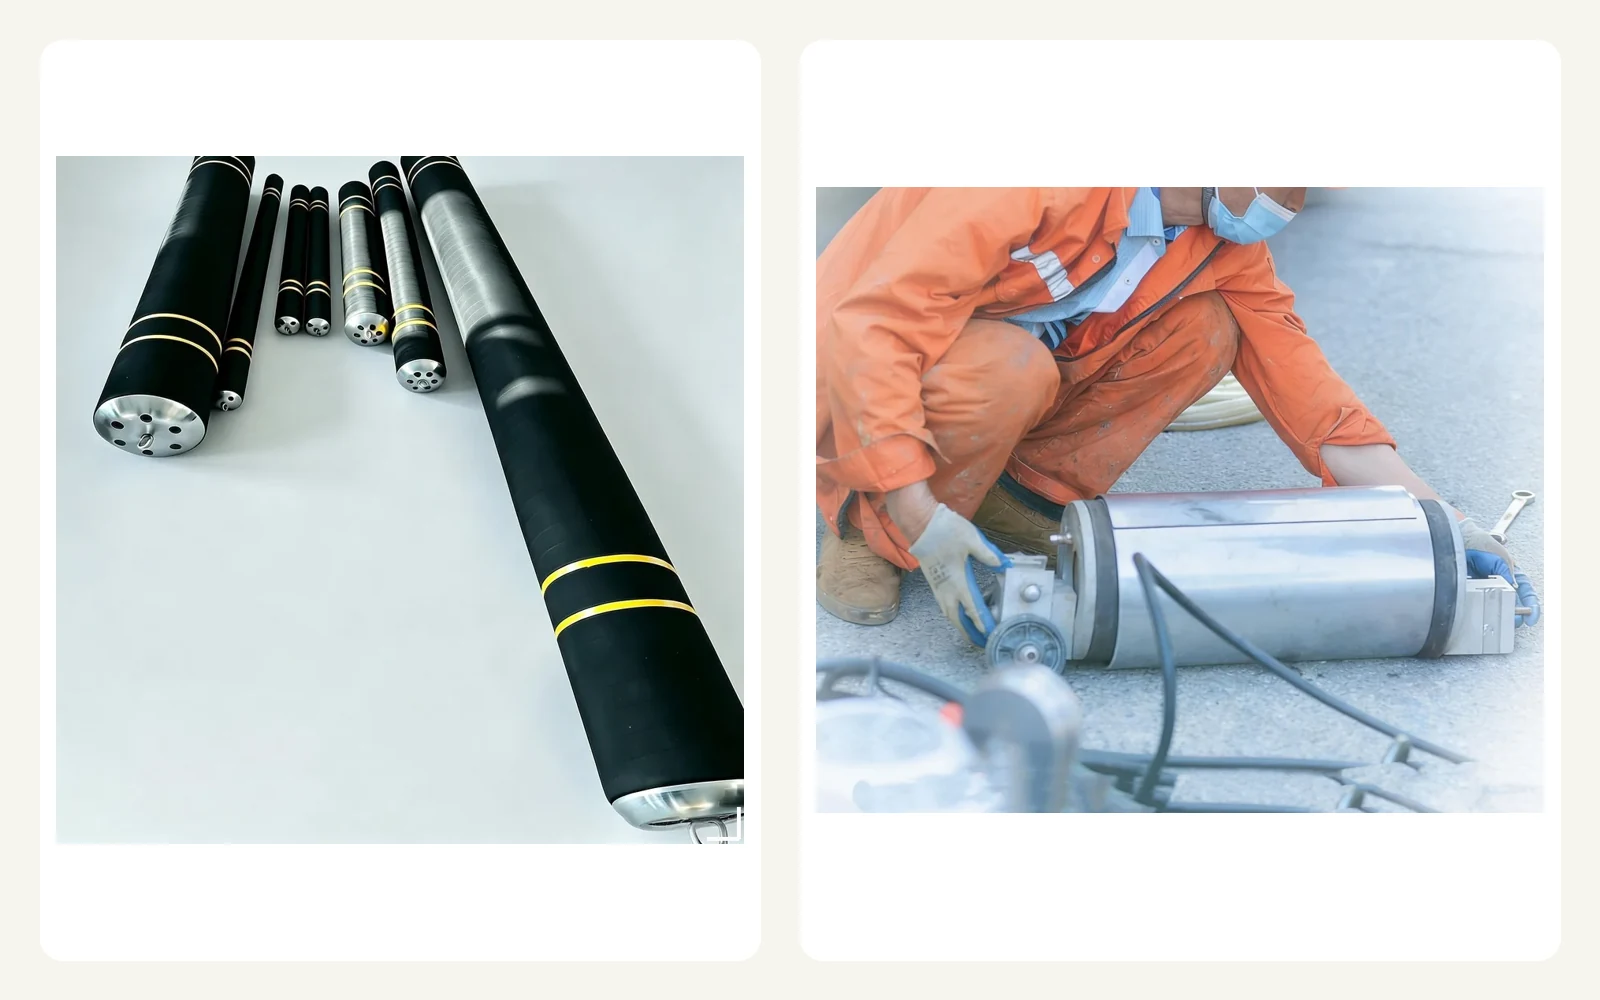
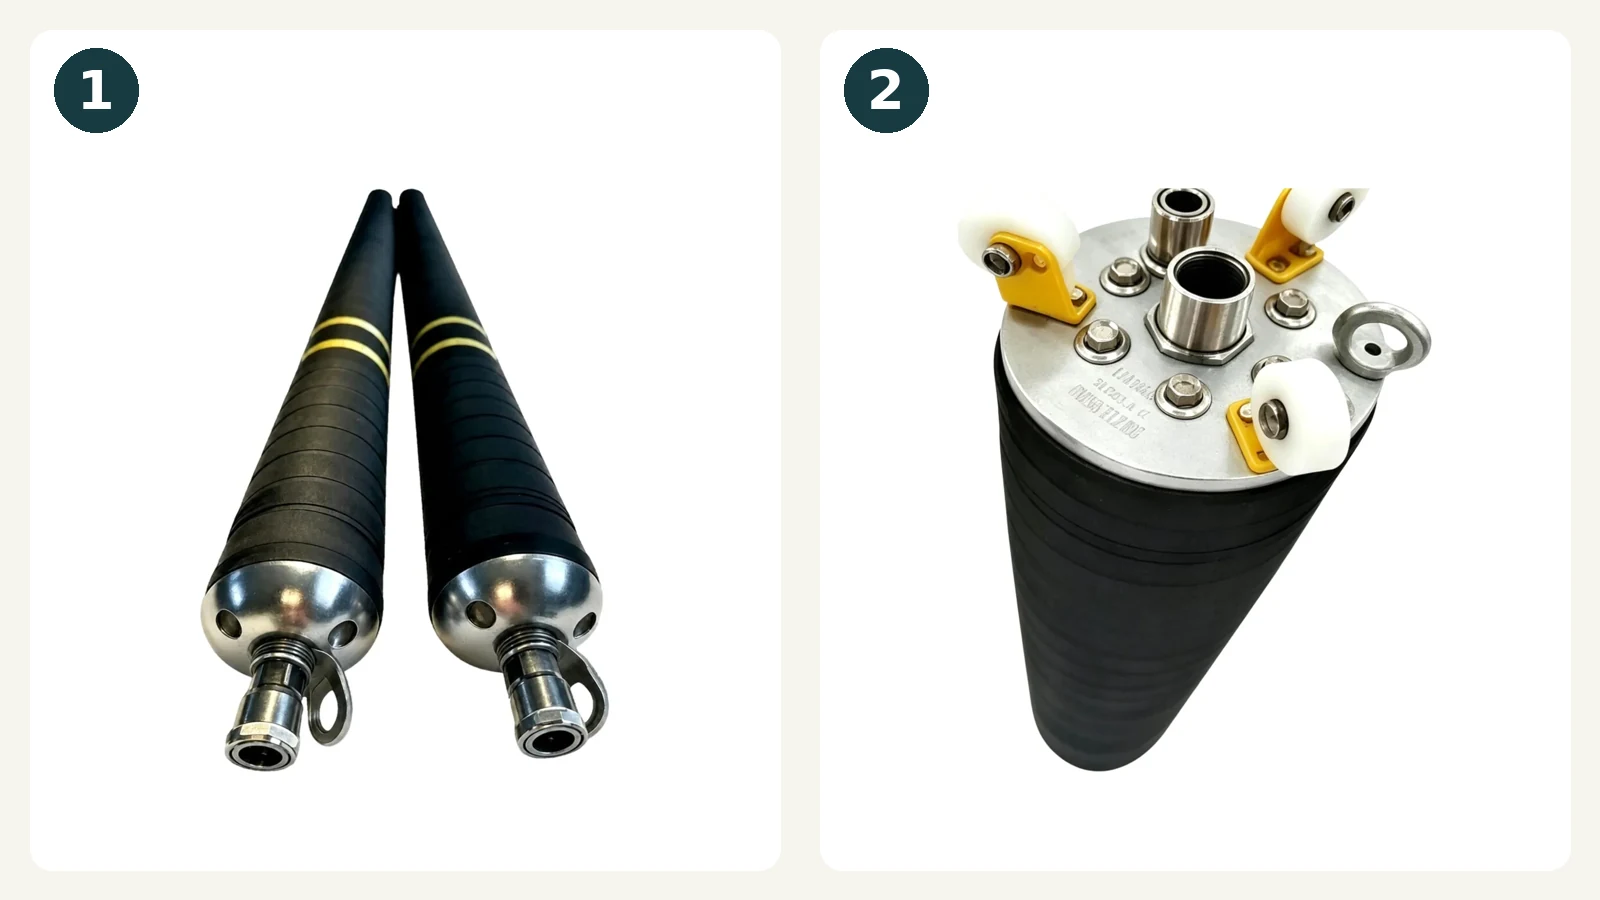
| Repair packer | Position and support a sectional resin repair | Actual pipe geometry, loaded clearance, repair length, connections and retrieval |
| Resin and fiberglass | Form the specified composite repair | Compatible system, reinforcement design, formulation, batch and installation conditions |
| Mechanical sleeve and its installation equipment | Expand and retain a local sleeve repair | Sleeve fit, tool compatibility, access and current instructions |
| Pipe plug or bypass arrangement, when required | Support the project's flow-management or testing plan | Intended duty, pipe condition, restraint, connections and system capacity |
| Internal joint or end seal, when specified | Seal the designed joint or liner-end interface | Measurements, profile, retaining arrangement and required performance |
The Reliance packer specification sheet lists pipe range, dimensions, maximum inflation pressure, weight and connection fields for the packer models. A maximum value in a catalogue is not a universal installation setting. Request the specification and instructions for the exact configuration.
Keep flow-control tools and repair tools distinct. The illustrated pipe plug versus repair packer article explains their roles; the point repair equipment checklist helps build the full procurement list.
Final Inspection, Cost and Schedule: Questions to Settle Early
Define the handover package before mobilization. A useful project checklist includes:
The original condition record and approved repair location.
Product identification, material batches where applicable and the installation record required by the system.
Post-installation inspection showing the repair and relevant connections.
Results of the tests specified by the designer, asset owner and applicable requirements.
Any departures from the plan, how they were resolved and authorization to return to service.
NASSCO's assessment guidance supports the role of recorded condition information; the project determines the acceptance criteria.
For trenchless sewer repair cost and installation time, request a breakdown instead of relying on a universal per-metre price or “one-day” promise. Ask the contractor to separate survey and cleaning, access, flow management, repair materials, installation, curing where applicable, connections, testing and reinstatement. The important comparison is the same scope and acceptance requirement. A sleeve avoids the resin-curing stage described above, but that does not establish the duration or cost of the entire job.
Reliance Resources to Use Alongside This Guide
Keep the right document beside the relevant decision:
Choose the packer: repair packer selection guide and Plugs & Packers model sheet.
Plan the resin repair: resin/glassfiber brochure, formulation spreadsheet and reinforcement specification guide.
Understand the sleeve: Instant-Lock brochure and illustrated mechanism explanation.
Explore product configurations on video: the Reliance product overview and custom repair packer video are first-party introductions. Use the current model documents for installation settings and suitability; these links are not a substitute for a complete installation procedure.
Frequently Asked Questions About Trenchless Installation
Is trenchless pipe installation the same as trenchless pipe repair?
No. New installation creates a pipeline route; rehabilitation works within an existing pipe, while replacement methods install a new pipe in place of the old one. The method-selection table above separates these decisions so that a repair-packer workflow is not mistaken for an HDD or pipe-jacking procedure.
Does trenchless work require digging?
It can. Access, service connections, local obstructions and the selected method determine the work required. Pipe jacking, for example, uses thrust and reception pits as described by the Pipe Jacking Association. Confirm the excavation scope in the project plan.
Does the repair packer stay inside the pipe?
The packer is an installation tool intended to be retrieved. In a sectional resin repair, the cured repair remains; in the sleeve arrangement described here, the steel sleeve and rubber jacket remain. Removal must follow the selected system's release criteria.
Can a repair packer replace a pipe plug?
Do not assume interchangeability. Supporting a repair and controlling flow are different duties. Select the device for its documented purpose and check the complete arrangement. See pipe plugs versus repair packers.
How long does a trenchless resin repair take to cure?
There is no single time for all materials and conditions. Confirm the formulation, temperature, cure method and release criteria in the current product instructions. A working-time figure is not a full cure or return-to-service approval; use the resin timing guide to prepare the questions.
Turn the Survey into a Specific Equipment Enquiry
Send the CCTV record, pipe material and measured internal diameter, defect dimensions, repair length, access details, flow conditions and required repair objective. Include the proposed method and any project specification already available.
Ask Reliance about repair packer selection. That information gives the technical discussion a concrete starting point: the right configuration, the relevant documents and the questions that still need to be resolved before installation.
References and source documents
Further reading
Article
How a Pipe Plug Holds Back Sewer Head: Pressure, Area and Friction
Article
Pipe Leak and Break Repair: Joint Seal, Sleeve, Patch or CIPP?
Article
Inflatable Pipe Plug Names: A Quotation Checklist
Buyer guide
How to Choose a Pipe Repair Packer
Buyer guide
Stainless Steel Pipe Repair Sleeves vs Resin-and-Fiberglass Patches
Buyer guide
Point Repair Equipment Checklist
Buyer guide
Sectional Point Repair vs Full-Length CIPP Lining
Buyer guide
Trenchless Installation Guide for Instant-Lock Point Repair